Getting Started With Wood Chips
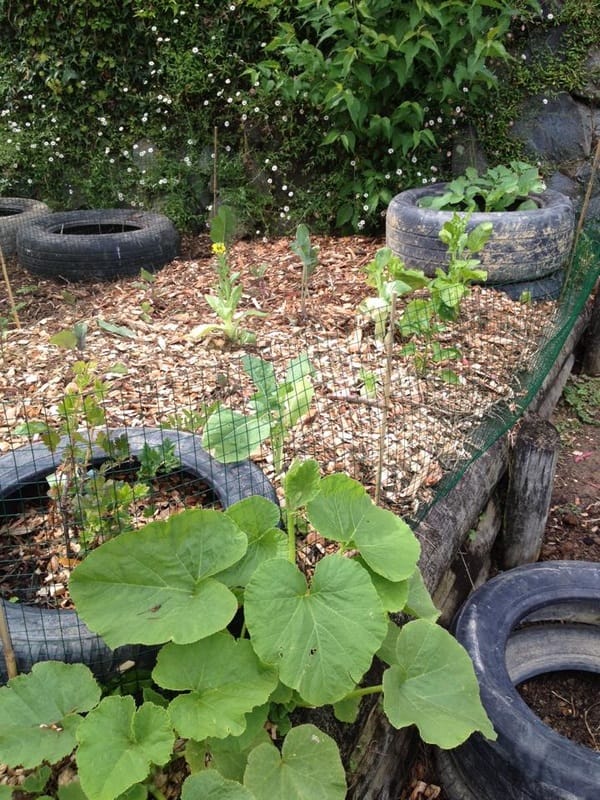
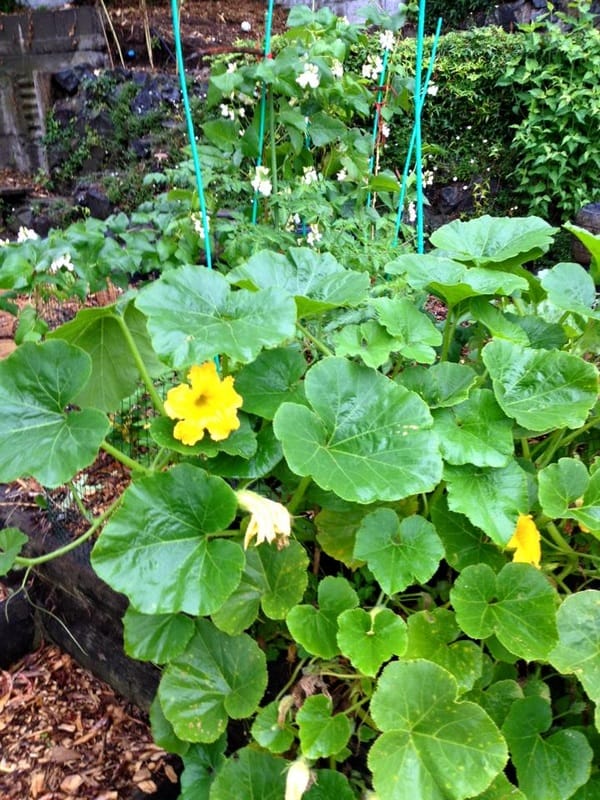
Embracing the Back to Eden Gardening Method has helped us transform our overgrown back yard into a colourful, productive urban homestead.
We began our journey towards being more self-sufficient back in 2015 and over the years have established a garden that produces an abundance of vegetables, we planted fruit trees, which we are now starting to get a harvest from and we even have a few chickens that have become much loved pets.
Back to Eden Gardening Method embraces nature by forming a insulation layer over the existing soil in your garden. This helps to both expel excess moisture, keep moisture in, thus reducing the need to water regularly in the summer months. The wood chips also assist with keeping the soil loose and airy so no turning the soil over is needed. Additional layers as time goes on such as manure, compost or fresh wood chips are instead just added on top as needed. This all assists with keeping weeds and pests minimal.
How to create your own Back to Eden Garden
The first thing you need to do is to order a large load of wood chips with a good mix of bark, twigs, and green waste mixed in from a local road side clearing or garden business. It pays to phone a few different businesses as some contractors will supply this for free. Our first load of 7 metres cost us $150 but I have subsequently found another business that will supply at no charge. The 7 metres of freshly chipped mulch was enough to do all the garden areas and pathways on our 673 metre square section. Any left over chips can just be left to compost down more for future use.
Wither you are starting a garden from scratch or just converting existing gardens, what comes next is layering cardboard or newspaper (6 sheets). Place the sheets down on top of the ground or existing soil making sure you mow any grass or pull out any large weeds.
Once you have finished laying the sheets of cardboard or paper down, throw on top any green waste, grass clippings, leaves and compost. Also layer any soil you may have. If you are using existing garden beds do not dig out the soil as the wood chips layers on top will help in bringing much needed nutrients back into your existing gardens.
On top of the compost layer, place a good amount of manure. This is normally available free or for low cost from a farmer or someone who has horses.
Finally place about 16cm of wood chips. Water regularly for approximately eight weeks and then plant seedlings into the soil. You won’t need to dig down very far and you will be surprised how moist and broken down everything is. This will also turn your clay or soil base into good soil for planting. I found initially it is a good idea to move the too move the wood chips aside until the plants have grown a little.
Water your new seedlings and leave your plants to grow. I found that the soil hadn’t quite broken down enough for seeds other than bigger ones like beans. By the time you are ready to harvest your first vegetables – direct sowing should be fine. Please note: When planting new seedlings into your Back To Eden Garden, it pays to move any surface wood chips away from the stems until your plants are more established.
Remember you don’t need to water too often. Check the moisture content with a garden gauge before watering because the surface of a Back To Eden Garden can look dry but have perfect moisture levels under the surface. I usually find that in the summer months, my garden needs to be watered at most once a week.
Future Coverings
Keep layering more compost, grass clippings, manure and wood chips on top. I like to give my garden a fresh layer at the end of winter so it is ready for summer planting. Weed as necessary – they should pull out easily as the soil is light, airy and not compacted.
Pests should be minimal – if you have them it will be because the plants are not hydrated enough, too hydrated or do not have enough sun. Pests are natures police force … they are designed to clean up unhealthy plants.
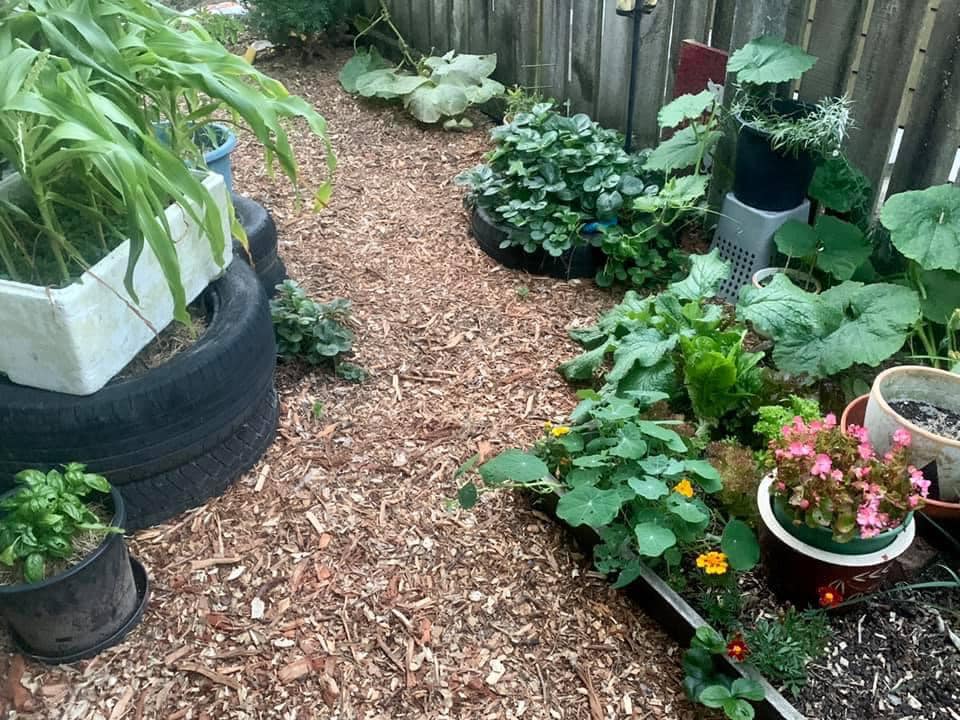
Most of all enjoy your new Back To Eden Gardening experience. I have added our Project Frugal You Tube links below so you can watch us putting in a new garden from scratch, and also using the wood chips as a pathway. Please ask any questions you may have below or comment on our YouTube links.
Denise xox


Photos from our garden and YouTube links:


